
Whether it’s Apple or Microsoft, everything is designed to make your machines obsolete over time. However, in many cases, not only can they still be useful, but they will be much faster than with Mac OS or Windows. Additionally, know that many HP printers are compatible with Ubuntu. Furthermore, this operating system is very space-efficient and fast, even on low-powered processors.
Another point to note is that the usage will be limited to office tasks because you won’t find Photoshop or other usual applications on Ubuntu. Some applications might allow you to do many things, but they certainly won’t compete with these commercial applications. Ideally, one day Adobe, Microsoft, and Apple would offer their software for Linux solutions because this operating system is more advanced, robust, and secure than Mac OS or Windows.
Another strength is the low power consumption, which will save your laptop’s battery.
We have installed Ubuntu on a 10-year-old Lenovo, and we will do the same on an equally old Mac in a few weeks.
How to proceed? It’s child’s play if you follow this guide step by step. Backup files and photos you want to keep on an external drive (USB stick, external SSD, etc.).
Then download Ubuntu here [link]. Next, take a blank USB stick, download UnetBootin here [link].
This will allow you to ‘flash’ the USB stick and install the Ubuntu disk image you downloaded. UnetBootin is available for Mac OS, Windows, and Linux.
Once UnetBootin is installed, launch the utility, which will ask you where the Ubuntu disk image is located on your computer. On Windows, it will be in the default downloads folder, on Mac, wherever you decided at the time of download. Follow the procedure step by step.
Once your USB stick is ready:
On Windows (10 or 11), go to ‘Settings’, then ‘System’, scroll down to ‘Recovery’, then ‘Advanced startup’, make sure your USB stick is inserted into the USB port, then click ‘Restart’. You will restart into the BIOS, where you will simply select your USB stick from the menu and wait for the next screen, which will offer to start the Ubuntu installation. Select this option and proceed; the installation will begin.
On Mac, leave the USB stick in the USB port, then hold down the ‘Option’ key at restart and only release your finger from the option key when the screen appears allowing you to select the boot source, which will be your USB stick. Select it and opt to restart from the stick when prompted.
Whether on Mac or Windows, during installation, you will have the option to choose to keep your existing OS and add Ubuntu or to reformat the internal SSD or HD and install only Ubuntu.
I recommend selecting the language of your keyboard when prompted, and also inputting your Wi-Fi network if necessary, which will allow the installation to prepare for updates as well.
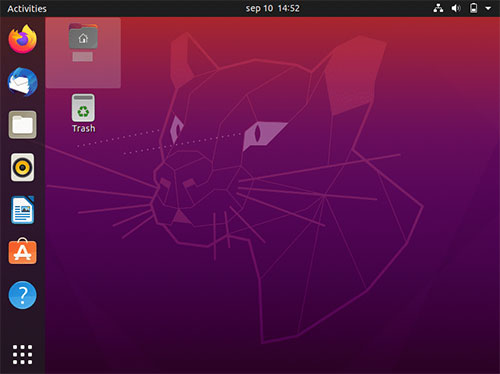
Once installed, you will have web browsers (Firefox), a word processor, a spreadsheet, etc., ready to use by default. There is no system maintenance to be done under Ubuntu; simply accept the proposed updates, and everything will be fine. In rare cases, the update may fail; you can find help in the user forums, which are numerous on the web.