
 Many of us find ourselves constantly hunting for alternatives to iCloud or Google Drive. While the appeal of escaping those recurring Silicon Valley fees is obvious, the barrier to entry often feels too high. You likely assume that migrating your digital life requires an advanced degree in IT or specialized technical knowledge.
The goal here is simple: to show you how to set up a straightforward, fast, and remarkably affordable network-attached storage device—commonly known as a NAS. In fact, this entire setup costs less than a single year of paying for the cloud services you are likely using right now.
Virtually all NAS devices on the market run on Linux-based operating systems. You might be tempted to look at single-drive solutions to save a few dollars, but they are best avoided. If a single drive fails, recovering your data can become an incredibly expensive headache.
Instead, we are going to focus on a two-bay setup. Why? Because these systems offer immense peace of mind, provided you configure the two drives in mirroring mode. This means an exact, real-time copy of your data is saved simultaneously on drive one and drive two. Should one drive fail, you simply pull out the broken unit, swap in an identical replacement, and everything goes back to normal without missing a beat.
When it comes to buying drives, the market essentially boils down to drives built specifically for network storage: Western Digital Red (or Red Plus) and Seagate Iron Wolf. Both brands are exceptionally reliable.
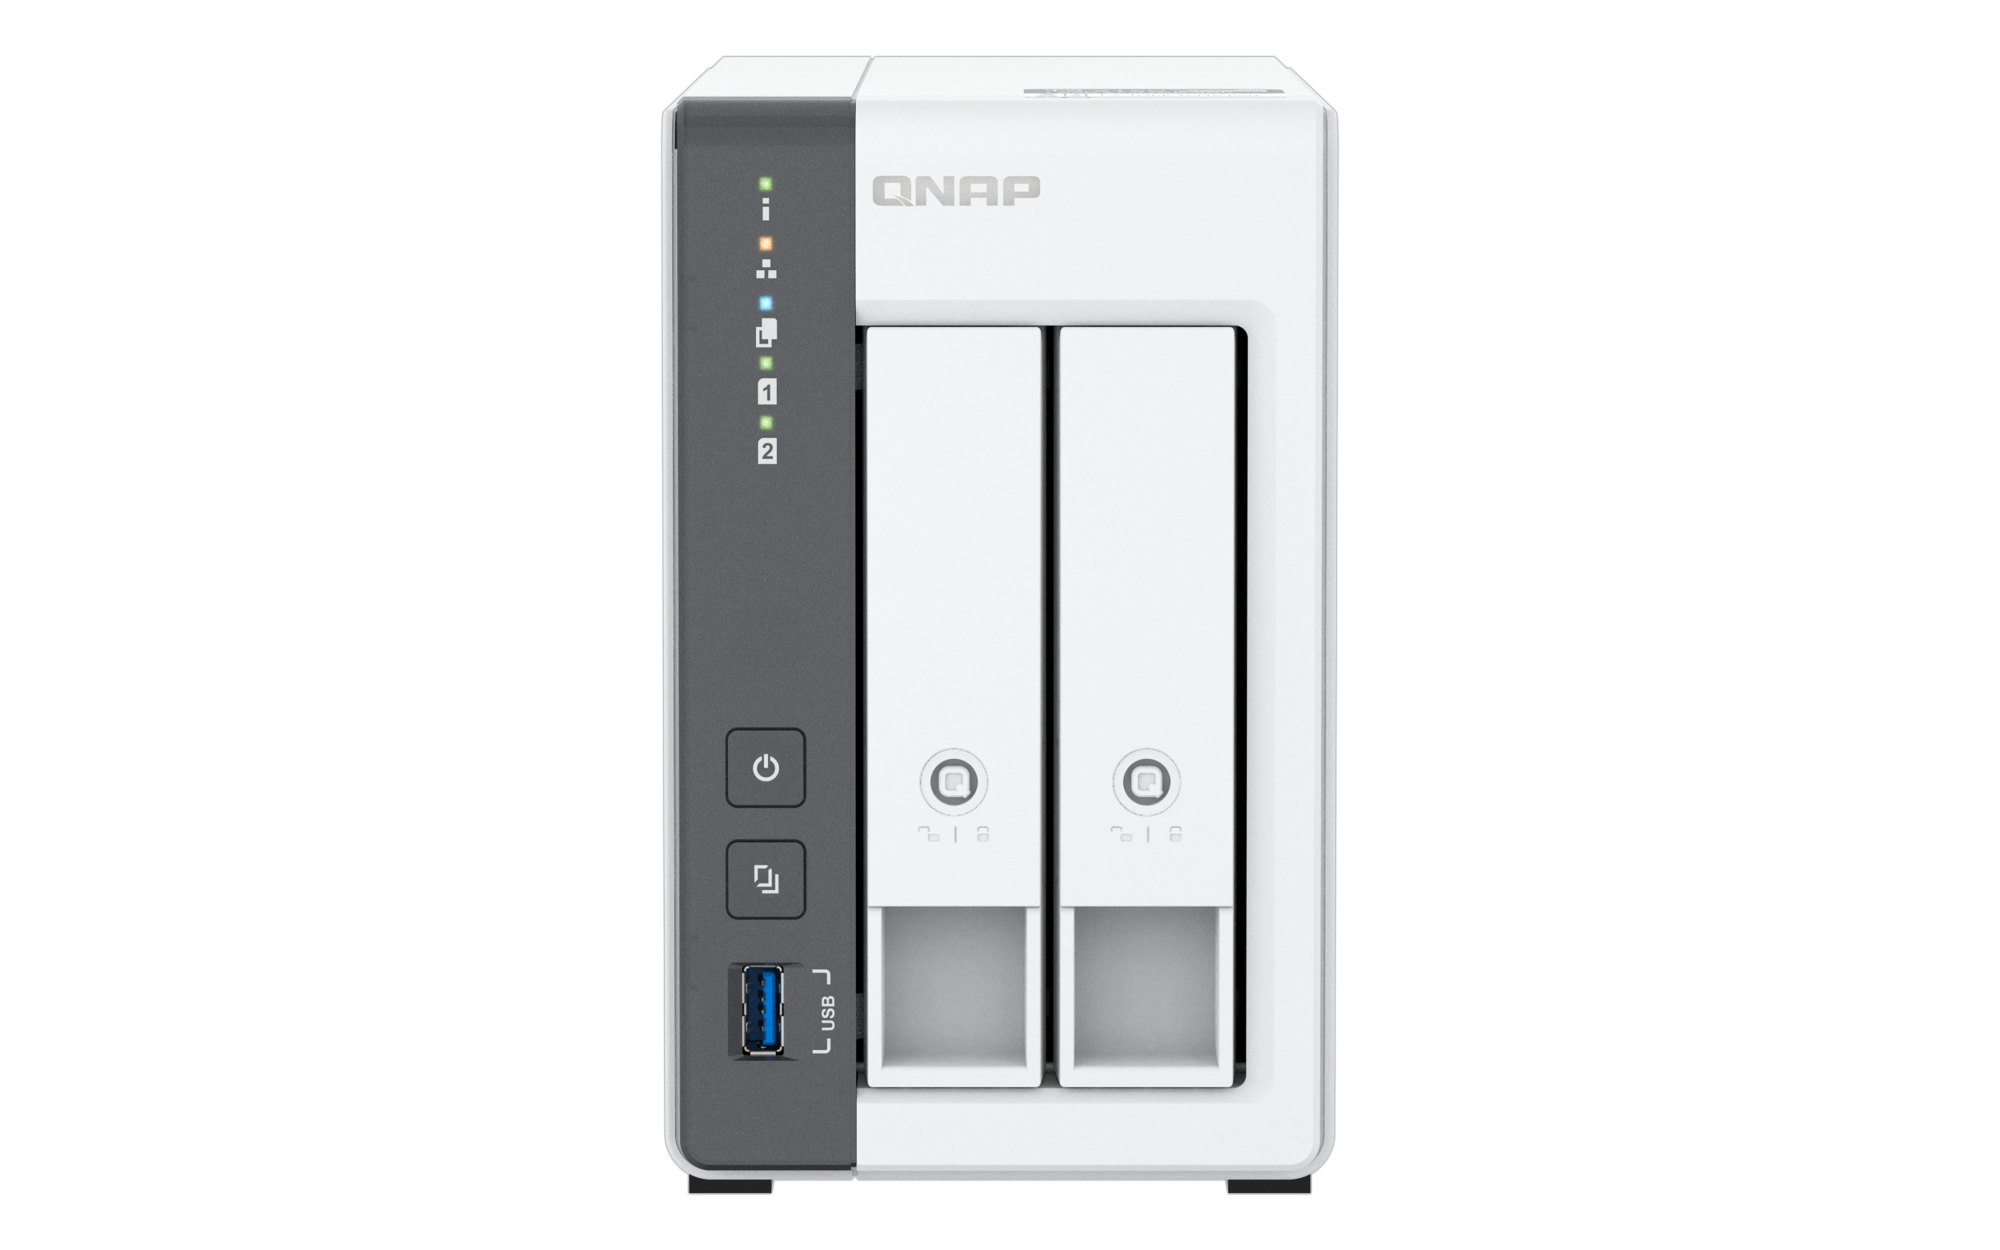
Next comes choosing the NAS server itself. We landed on one of the fastest models in this price range, the QNAP TS-216G-US. While faster options exist, they are often much harder to install and feature bloated interfaces that ultimately slow you down. That is exactly why this particular model stands out.
Simple to Install, Simple to Manage
You begin by downloading the QNAP Qfinder Pro utility, choosing the version for macOS, Windows, or Linux depending on your computer. From there, you slide the bays out of the NAS and follow the included manual to install your hard drives.
You might notice I haven’t mentioned using solid-state drives, or SSDs. There are two good reasons for this. First, the price of server-grade SSDs remains prohibitively high; expect to pay around $500 for a 4TB SSD, compared to roughly $200 for a traditional server-grade hard drive. Furthermore, installing server SSDs often requires purchasing extra adapters and navigating firmware updates before you even slide them into the server.
For our purposes, we are sticking with dedicated 4TB server hard drives, specifically the Western Digital Red Plus.
Under the Hood: The QNAP TS-216G-US (2-Bay)
-
Processor: ARM 4-core Cortex A55 running at 2.0 GHz.
-
Architecture: 64-bit ARM, which consumes less than 14 watts under full load and just 4 watts in standby.
-
Memory: 4GB of RAM. It cannot be expanded, but it is perfectly sufficient for the vast majority of everyday users.
Once you have physically secured the hard drives inside the NAS, connect the device directly to your home network. You must ensure your computer is plugged into the exact same local network (either via Wi-Fi or an Ethernet cable connected to your router) so that your computer can successfully find the new device on your home network during the setup process. For the best connection, plug it directly into your fiber router using a Category 7 or Category 8 Ethernet cable.
Power on the NAS and wait roughly five to ten minutes. It will boot up automatically after finalizing its system installation. Launch the Qfinder Pro application on your computer to find the exact IP address of your NAS (for example: http://192.168.1.100:8080). Copy that address, paste it into your web browser—we recommend Firefox for privacy and security—and press enter. You will instantly land on your NAS dashboard. Your very first step should be configuring your drives to RAID 1.
Assuming you have just unboxed and installed the two physical drives, here is the step-by-step procedure to get everything running.
Initialization and Configuration
-
From a computer connected to the same local network, open the Qfinder Pro utility (which you can download directly from the QNAP website here) to detect your NAS’s IP address.
-
Open your preferred web browser, type in that IP address, and log in using the default credentials (usually
adminalong with the NAS MAC address, or a custom password established during your very first boot). For your own security and peace of mind, make sure to change the default admin password immediately upon your first login to keep your private data safe from unauthorized access. -
Follow the initial setup wizard, which will update the operating system and prepare the NAS for daily use.
Creating a RAID 1 Mirror
-
Once you are looking at the main desktop interface (QTS), open the main menu and launch the Storage & Snapshots application.
-
In the left-hand menu, navigate to Storage and then Storage/Snapshots.
-
Click Create (or Create New Storage Pool).
-
Check the boxes corresponding to both of your installed drives.
-
The system will automatically recommend the optimal RAID configuration. Select RAID 1 to create a mirrored system, meaning any data written to the first disk is instantly cloned to the second, giving you vital protection against hardware failure.
-
Continue following the prompts to wrap up creating your storage volume by clicking Create.
Once that process finishes, you can create up to separate eight user accounts. This allows every member of the household to have their own private session and their own personal folders.
To access your files and manage your NAS securely from anywhere in the world, you can rely on myqnapcloud.com.
This is arguably one of the most practical solutions for a first-time NAS owner. The hardware itself does not leave much room for expansion beyond swapping out the physical hard drives or 2.5-inch SSDs. However, once you become comfortable managing your own private storage, you can eventually graduate to more advanced, high-end models that offer memory upgrades, caching capabilities, and even faster speeds—though they come with a significantly higher price tag.
© 2026 Bayou Blue Radio
Thierry De Clemensat
French journalist Based in Austin, Texas, Writes on Jazz, Culture and Global Society
French:
Révolution numérique :
QNAP dévoile le TS-216G, le nouveau cœur de l’écosystème de données pour les foyers et PME
À l’ère de l’infonuagique (le cloud) et de la multiplication exponentielle des données personnelles et professionnelles, la question de la souveraineté et de la gestion de l’information devient cruciale. C’est sur ce marché en pleine mutation que le fabricant taïwanais QNAP Systems positionne son dernier né : le serveur de stockage en réseau (NAS) TS-216G. Conçu pour démocratiser l’accès aux technologies de pointe en matière de gestion de données, cet appareil à deux baies entend redéfinir les standards du stockage d’entrée de gamme, combinant accessibilité financière et performances de haut niveau.
L’intelligence artificielle au service de l’archivage
L’une des innovations majeures de ce boîtier compact réside dans l’intégration d’une unité de traitement neuronal (NPU, pour Neural Processing Unit). Alors que l’intelligence artificielle est habituellement réservée aux serveurs de calcul d’entreprise hors de prix, QNAP l’invite directement dans les salons et les petites études notariales ou médicales.
Couplée au moteur d’intelligence artificielle de la marque (QNAP AI Core), cette puce NPU accélère drastiquement la reconnaissance faciale et la classification d’objets au sein de l’application de gestion de photos QuMagie. Le résultat est sans appel : le tri de milliers de clichés de famille ou d’archives professionnelles s’effectue quasi instantanément, sans saturer le processeur principal. C’est une réponse directe aux géants du Web (Google Photos, Apple iCloud) qui monnayent désormais l’hébergement de nos souvenirs. Ici, l’utilisateur garde le contrôle total de ses métadonnées et de sa vie privée.
Une motorisation robuste et connectée
Sous le capot épuré et sobre du TS-216G, qui arbore deux tiroirs de disques durs accessibles à chaud (hot-swappable), bat un processeur ARM Cortex-A55 quadruple cœur cadencé à 2,0 GHz. Il est épaulé par 4 Go de mémoire vive (RAM) soudée, assurant une fluidité exemplaire pour le multitâche.
Mais la véritable force de l’appareil pour les foyers modernes se situe dans sa connectivité réseau. Le NAS est équipé de deux ports Ethernet à l’arrière : un port Gigabit classique et, surtout, un port 2,5 Gigabit Ethernet (2,5GbE). Cette connectivité multi-gigabit permet de saturer les liaisons réseau locales, autorisant des transferts de fichiers ultra-rapides, de l’ordre de près de 300 Mo/s en lecture et écriture. Fini les attentes interminables lors de la sauvegarde de sauvegardes d’ordinateurs portables ou de la lecture de vidéos en ultra-haute définition (4K) sur le téléviseur du salon.
De surcroît, le serveur propose trois ports USB (dont un port USB 3.2 Gen 1 en façade) permettant de brancher des disques durs externes et de déclencher des sauvegardes instantanées par simple pression d’un bouton (One-Touch-Copy).
Un rempart face à la menace des ransomwares
À l’heure où les cyberattaques et les rançongiciels (ransomwares) ciblent de manière indiscriminée les particuliers et les structures libérales, la sécurité ne doit pas être prise à la légère. QNAP dote son système d’exploitation QTS d’un mécanisme de protection par clichés instantanés (Snapshots).
Cette technologie enregistre l’état du système de fichiers à un instant T. Si un poste de travail est infecté et chiffre les dossiers partagés sur le NAS, il suffit de quelques clics pour restaurer une version antérieure des données, rendant l’attaque de rançongiciels inopérante. De plus, le chiffrement matériel AES-256 bits est de la partie, garantissant que même si le matériel physique venait à être dérobé, les données demeurent totalement illisibles sans la clé de déchiffrement légitime.
L’autonomie et l’évolutivité au service des budgets
Le NAS TS-216G accepte les disques durs mécaniques de 3,5 pouces de grande capacité ainsi que les disques électroniques (SSD SATA) plus silencieux et réactifs. En accueillant deux disques durs de 22 To, l’appareil permet d’atteindre un volume total de stockage brut de 44 To (extensible à 39 To réels configurables en RAID 1 pour la redondance des données). Une sécurité indispensable pour que la panne d’un disque n’entraîne pas la perte définitive des informations.
Proposé aux alentours de 230 à 350 euros selon les distributeurs et les régions, ce serveur se pose en investissement pérenne, économique à l’usage avec une consommation électrique dérisoire (environ 14 watts en fonctionnement et moins de 5 watts en veille).
En somme, avec le TS-216G, QNAP démontre que la centralisation des données, l’automatisation des sauvegardes et le confort d’un cloud privé ne sont plus l’apanage des experts en informatique, mais bien un outil d’émancipation numérique accessible à tous.
© 2026 Bayou Blue Radio
Thierry De Clemensat
French journalist Based in Austin, Texas, Writes on Jazz, Culture and Global Society